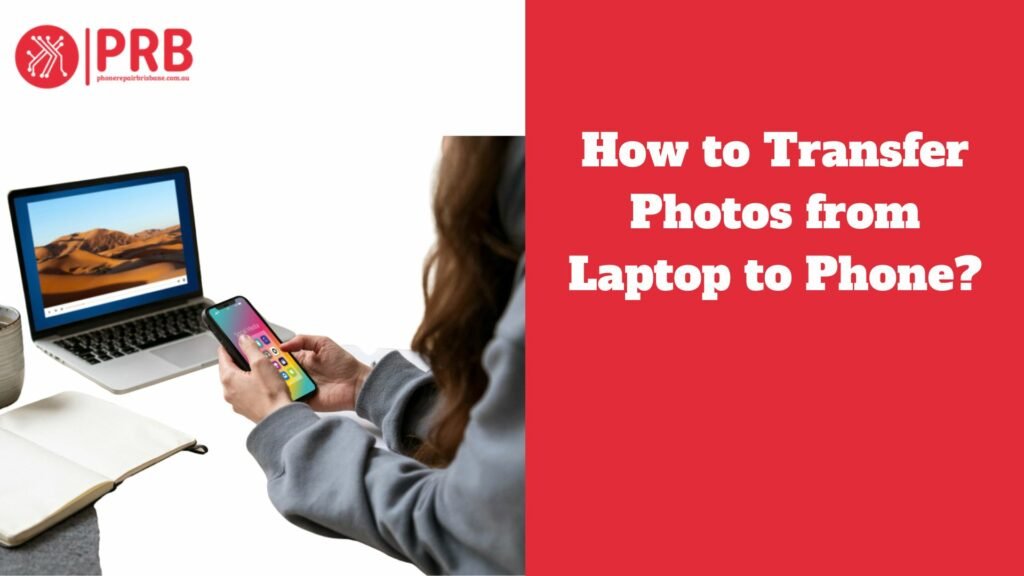
How to Transfer Photos from Laptop to Phone? Moving pictures from a laptop to a phone is necessary for sharing, mobility, and easy access. Users can take use of mobile editing features, view their photographs while on the go, and share them with ease using messaging apps. Transfer techniques include direct USB connections, Bluetooth, Wi-Fi transfer programs, and cloud services like Google Photos or iCloud. To accommodate diverse user preferences and technological capacities, each approach offers varying speeds and ease of use. Having backed-up and cross-platform access to photos improves convenience and security.
For sharing and ease of use, mobile device accessibility to photos is essential. Users with mobile access can instantly revisit memories, share photos with friends and family, and incorporate images into messages and posts on social media. Using mobile apps, it also makes real-time photo editing and management easier. Instant messaging, email, and cloud services make sharing simple and allow photographs to be shared quickly for personal or business use. This accessibility improves communication and connections with people by guaranteeing that significant moments are always accessible.
Methods to Transfer Photos
Using a USB Cable: Transmit data directly, quickly, and securely.
Windows Reference
- Use a USB cord to connect your phone.
- On the phone, choose “File Transfer”.
- On a laptop, launch “File Explorer”.
- Drag and drop images.
macOS Guide
- Use a USB cord to connect your phone.
- On the phone, choose “File Transfer”.
- If you need to, use “Android File Transfer”.
- Drag and drop images.
Via Cloud Services
Overview: Google Drive, Dropbox, iCloud.
Upload Photos:
- Sign in to cloud service on laptop.
- Upload photos.
Download Photos
- Install cloud app on phone.
- Sign in and download photos.
Using Email
Send Photos
- Attach images to a laptop email.
- Forward to your email.
Download Images
- Check your phone’s email.
- Get the attachments.
Bluetooth Transfer
Explanation: Wireless transfer over short range.
Guide
- Enable Bluetooth on both devices.
- Pair devices.
- Send photos via Bluetooth.
Wi-Fi Direct or Wireless Transfer Apps
Overview: Use Wi-Fi Direct or apps like AirDroid, SHAREit.
Setup
- Install the app on each of the two devices.
- Join the same Wi-Fi network.
- Using an app, transfer images.
Using External Storage Devices
Transfer via USB Drives
- Transfer pictures to an external drive.
- Link your phone to the OTG adapter.
- Use your phone’s file manager to transfer photos
How to Use OTG Adapters
- Link the adaptor to your phone.
- Connect an external drive.
- Transfer pictures to your phone
Tips and Tricks for Efficient Transfers
Providing Quick and Safe Transfers
Make Use of Premium Cables: Make sure the USB cords you use can transfer data quickly.
Stable Internet Connection: Make use of a dependable, fast internet connection for cloud services and wireless transfers.
Look for malware: Make sure there is no virus on each device to avoid corrupting the data.
Continual Updates: Update the software on your laptop and phone for best results.
Organising Photos During and After Transfer
Make Folders: Before transferring, arrange pictures into folders according to the date, the event, or the category.
Use Photo Management programs: For automated organisation and labeling, make use of programs such as Apple Photos or Google Photos.
Rename Files: To make it easier to find your photos later, rename your photo files with clear titles.
Regular Clean-Up: To maintain your collection in control, go through and remove any unnecessary or duplicate images on a regular basis.
Guidelines for Backups to Avoid Data Loss
Several Backups Maintain a Minimum of Two Backups: one external hard drive and one cloud service.
Automatic Syncing: iCloud and Google Photos are two examples of cloud services where you can enable automatic photo backups.
Scheduled Backups: To guarantee that the most recent pictures are preserved, set up manual backups at regular intervals (weekly or monthly).
Verify Backups: Make sure your backup files are complete and accessible by periodically checking them.
Troubleshooting Common Issues
Solving Issues with Connectivity
Verify Connections: Make that all wires are linked correctly and are in good condition.
Restart Devices: To fix brief issues, restart your phone and laptop.
Examine Various Ports: Use a different USB cable or another USB port on your laptop.
Update Drivers: Make sure the Bluetooth and USB drivers on your laptop are current.
Airplane Mode: To reset the connectivity settings on your phone, toggle the Airplane mode.

Addressing Compatibility Issues
File Formats: Verify that the photographs are in a format that both devices can use, such as JPG or PNG.
Software prerequisites: Make use of the required applications (such as Android File Transfer on macOS).
System Updates: Download and install the most recent operating systems for your laptop and phone.
Check Settings: Verify the settings on your phone to make sure “File Transfer” or “MTP” are selected under USB.
App Interoperability: For wireless transfers, use apps that are compatible (such as Google Drive and AirDroid).
Solutions for Interruptions and Transfer Errors
Enough Storage: Make sure there is adequate room on your phone to store newly uploaded pictures.
Stable Connection: Keep your Wi-Fi connection steady while transferring files wirelessly.
Prevent Sleep Mode: During the transfer, keep your phone and laptop from entering sleep mode.
Retry Transfers: In the event of an error, abort and relaunch the transfer.
Clear Cache: To fix app-related problems, clear the cache of any transferred apps on both devices.
File Size Limits: See if the software or the transfer method has any file size restrictions, and split huge files if needed.
Also Read : Why Does My iPhone Suddenly Restart?
Frequently Asked Questions
What Is the Fastest Way to Transfer a Large Number of Photos?
The fastest way to transfer a large number of photos is by using a USB cable. Connect your phone to your laptop with a high-quality USB cable. This method provides a direct and fast connection, allowing for quick transfers. Ensure your phone is set to “File Transfer” mode. Open “File Explorer” on your laptop, find your phone, and drag and drop the photos from your laptop to your phone’s storage. This method is fast, reliable, and doesn’t depend on internet speed, making it ideal for transferring many photos quickly.
How Do I Get Pictures off My Old Laptop?
To get pictures off your old laptop, connect an external USB drive or use cloud storage services like Google Drive or Dropbox. Copy your pictures to the external drive by selecting them and dragging them to the drive icon on your desktop. Alternatively, upload them to a cloud service by signing in, navigating to the upload option, and selecting your pictures. Once uploaded, you can access them from any device with internet access, ensuring safe storage and easy retrieval.
How Can I Ensure the Quality of My Photos Is Maintained During Transfer?
When transferring photos, choose for direct solutions such as USB connections or fast Wi-Fi to preserve photo quality. Steer clear of file compression techniques. Verify the transfer settings to guarantee excellent preservation. Check the resolution integrity of a sample of the photographs on both devices after the transfer. This method effectively preserves the quality of your memories by guaranteeing that your images maintain their original clarity and detail during the transfer procedure.
How to Transfer Files From Laptop to Phone With USB?
- Use the USB cable to connect your phone to your PC.
- When prompted, choose “File Transfer” or “MTP” mode on your phone.
- Get your laptop’s “File Explorer” open.
- Find your phone by selecting “This PC” or “My Computer.”
- Navigate to the laptop folder where the files you wish to transfer are located.
- To move files from your laptop to the selected phone folder, simply drag & drop them there.
- After the transfer is finished, carefully remove your phone from the laptop to prevent data corruption.
Conclusion
Using a USB cable to transfer files from your laptop to your phone is a simple procedure that guarantees effective data exchange across devices. You may navigate and manage files for a smooth download by using File Explorer on your PC and choosing the proper transfer mode on your phone. This approach is dependable since it provides direct connectivity without requiring cloud computing or internet access. It is crucial to preserve file integrity and guarantee data security when transferring files, including documents, images, and other types of media. To avoid data corruption, don’t forget to safely remove your phone from the laptop after the transfer. For seamless transfer solutions and expert care of your devices, visit iPhone Repair Brisbane. Whether you need to transfer photos or repair your laptop and phone accessories, our skilled technicians are here to help. Contact us today to ensure your digital content stays safe and accessible with our reliable services.